


Content Summary
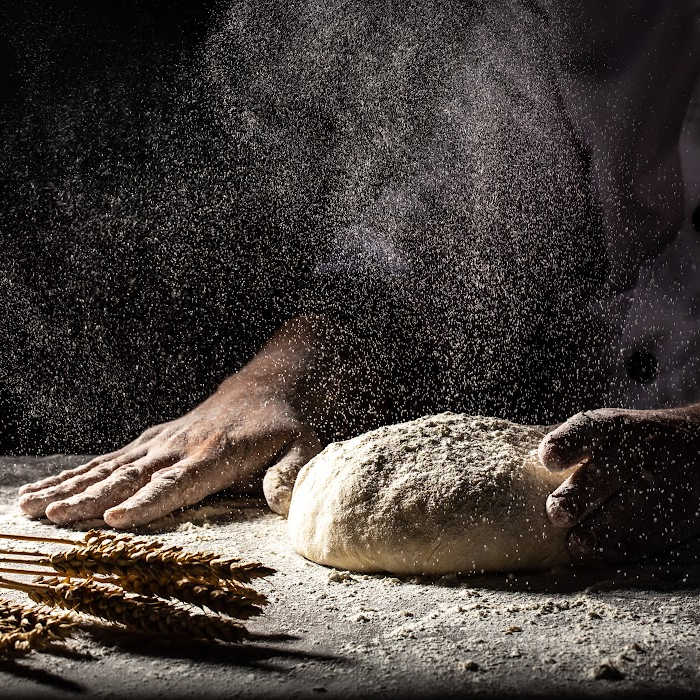
Kneading bread dough is often seen as a tedious and unnecessary step in the bread-making process. But nothing could be further from the truth! In fact, kneading is the key to making better bread. Here's why.
What Does Kneading Do To Bread?
When you knead dough, you are essentially developing the gluten network. Gluten is a protein found in wheat flour that gives bread its signature chewy texture.
- By kneading dough, you are developing the gluten network. The more you knead the dough, the more gluten is developed, and the stronger the network becomes.
- A strong gluten network will trap pockets of gas that are produced by the yeast, resulting in a light and airy loaf of bread.
- Kneading also helps to distribute the fat evenly throughout the dough. This results in a more tender crumb, as well as a better rise.
- And last but not least, kneading gives bread its beautiful sheen and smooth surface.
Kneading might seem like a tedious step, but it's actually essential for making better bread. So don't skip this important step and remember all of the wonderful things it does for your bread!
The Do's & Don'ts Of Kneading Dough
Kneading dough is an activity that is often shrouded in mystery. There are many old wives' tales about the best way to knead dough, and as a result, many people are unsure about how to properly do it. In this blog post, we will dispel some of the myths about kneading dough and give you some tips on how to do it correctly.
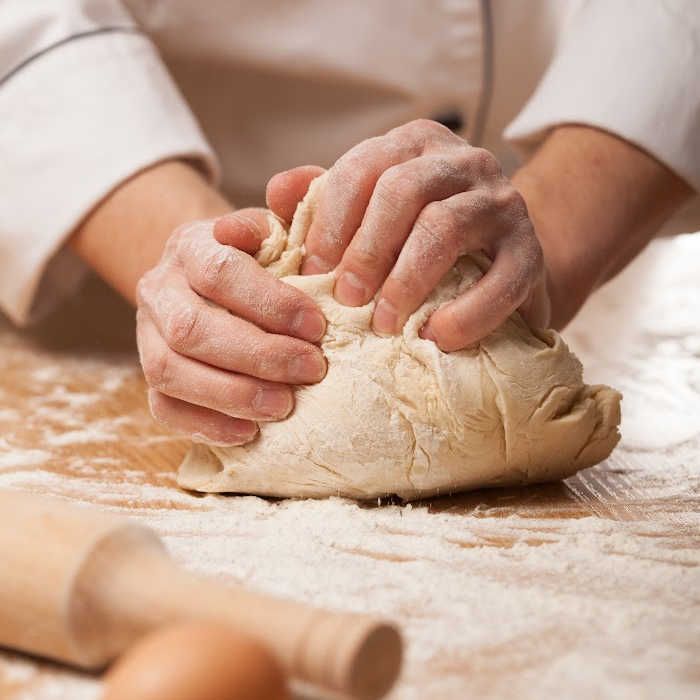
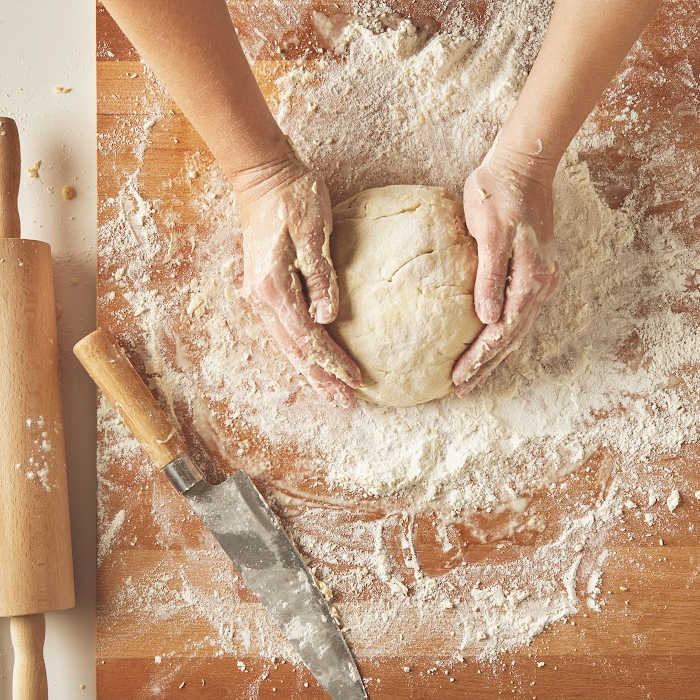
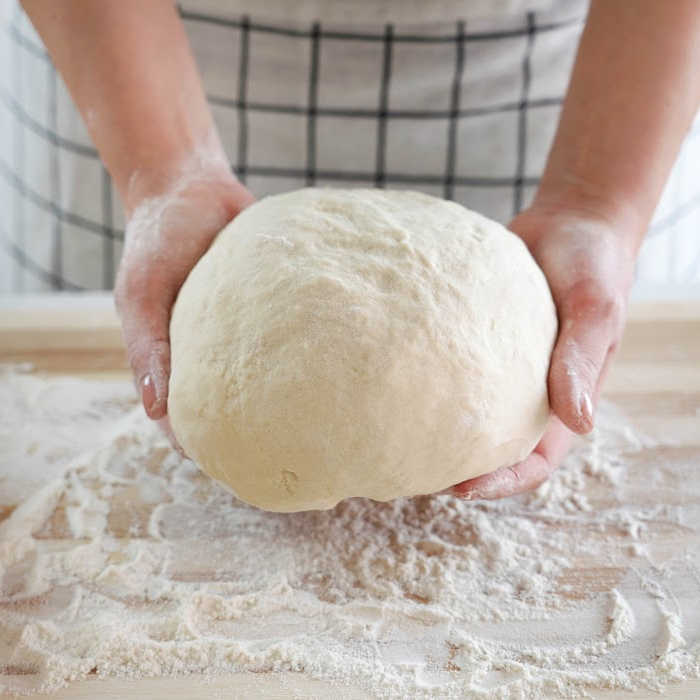
How To Knead Bread Dough By Hands
DO: Use your hands! The best way to knead dough is with your hands. This allows you to get a feel for the dough and ensure that it is the right consistency.
DON’T: Over-knead the dough. Kneading the dough too much will make it tough. The ideal amount of time to knead dough is between 5 and 10 minutes.
DO: Add flour if the dough is sticky. If the dough is sticking to your hands or the surface, add a little bit of flour until it is no longer sticky.
DON’T: Forget to rest the dough. After you have finished kneading the dough, let it rest for at least 30 minutes so that the gluten can relax.
DO: Be gentle with the dough. Be gentle with the dough when you are shaping it into a loaf or rolls. This will help prevent it from becoming tough.
DON’T: Knead the dough too hard. Again, this will result in tough dough.
Remember these tips when you are next kneading dough. By following these simple tips, you'll be well on your way to making perfect bread every time!
How To Knead Bread In A Stand Mixer
If you're short on time or just don't feel like kneading dough by hand, you can use a stand mixer to do the job for you. Here's how:
1. Place the dough in the bowl of the stand mixer and attach the dough hook.
2. Mix on low speed until the dough comes together, then increase the speed to medium and knead for 5-7 minutes.
3. The dough is ready when it is smooth and elastic.
4. Remove the dough from the bowl and shape into a loaf or rolls.
5. Let the dough rest for at least 30 minutes before baking.
Kneading dough in a stand mixer is a quick and easy way to get the job done. Just be sure not to over-knead the dough, or it will become tough.
Tips & Tricks
- Make sure your surface is clean and dusted with flour before you begin kneading.
- If the dough becomes too sticky, add more flour a little bit at a time until it comes together.
- Be careful not to overwork the dough or it will become tough.
- After kneading, let the dough rest for at least 30 minutes before shaping it into a loaf or rolls. This will allow the gluten to relax and make the dough easier to work with.
- When shaping the dough, be gentle so as not to overwork it.
- Follow these tips and you'll be kneading like a pro in no time!
5 Signs That Your Bread Dough Is Fully Kneaded
If your dough exhibits all 5 of these signs, then you can be sure that it has been kneaded properly.
1. The dough is no longer sticky, it slides off the table effortlessly
2. The dough has a beautiful sheen and velvety smooth
3. The dough has a good body, and is elastic
4. You can cut neat, clean slices from it
5. The windowpane test: If you can stretch the dough so thinly that light shines through it, then it's ready to use!
We know that baking bread at home is a long and tedious process. To make your life easier, we've compiled a list of the five best stand mixers for bread dough on the market. Now you can pick one that fits your needs without spending hours researching!
We hope this article has helped you to understand the importance of kneading dough and how to do it correctly.
Happy baking!
Catchy Finds