


Content Summary
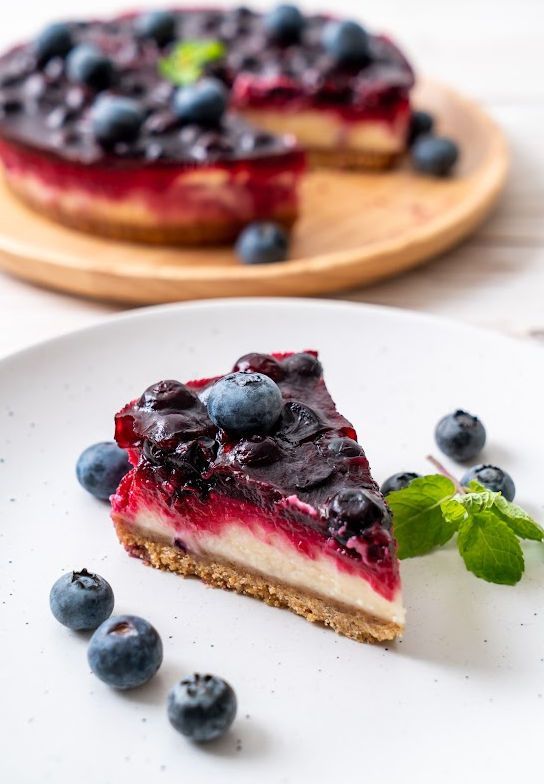
These two recipes: no-bake blueberry cheesecake & bake blueberry cheesecake include straightforward step-by-step instructions so you can choose to recreate a dessert masterpiece in no time!
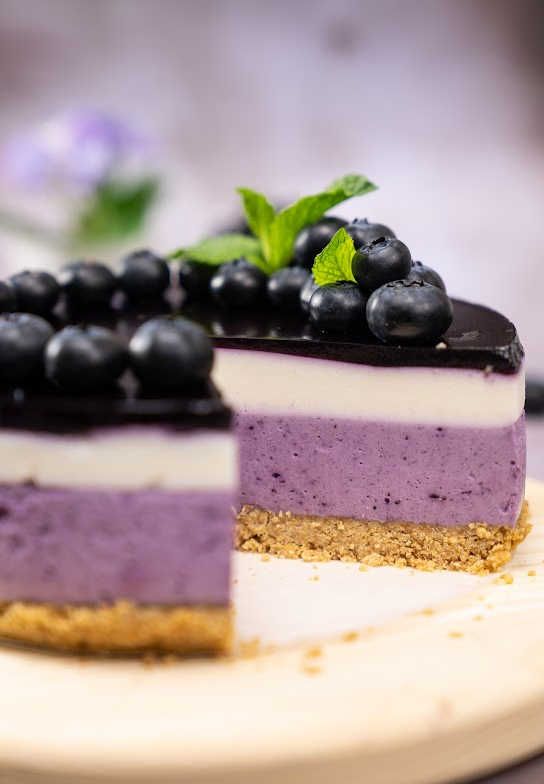
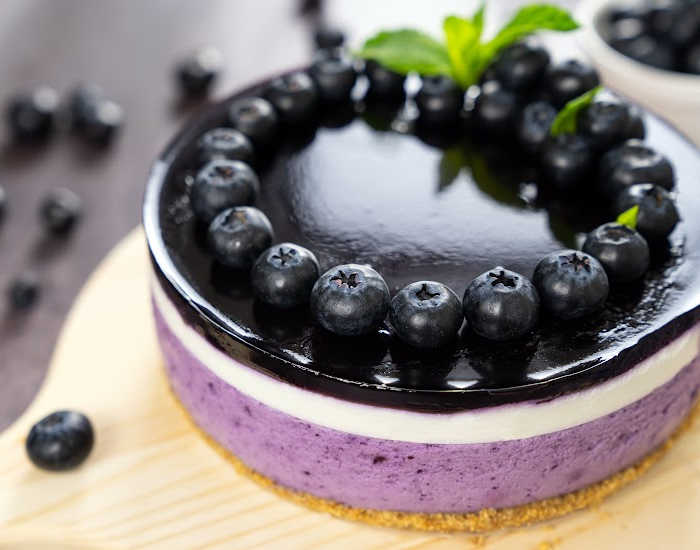
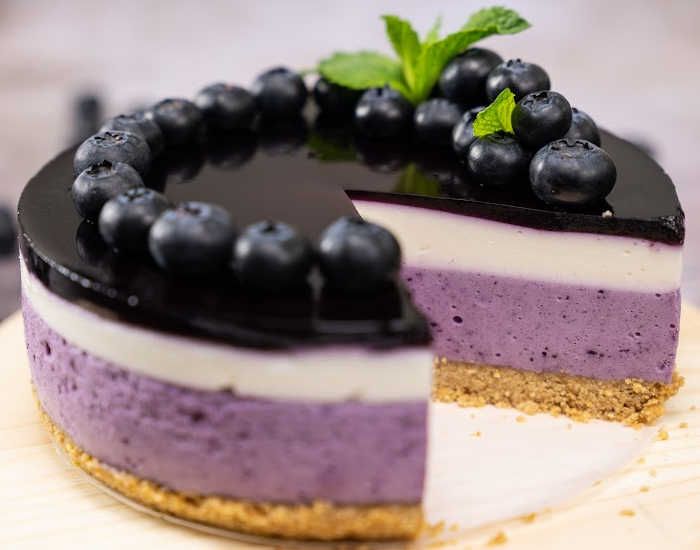
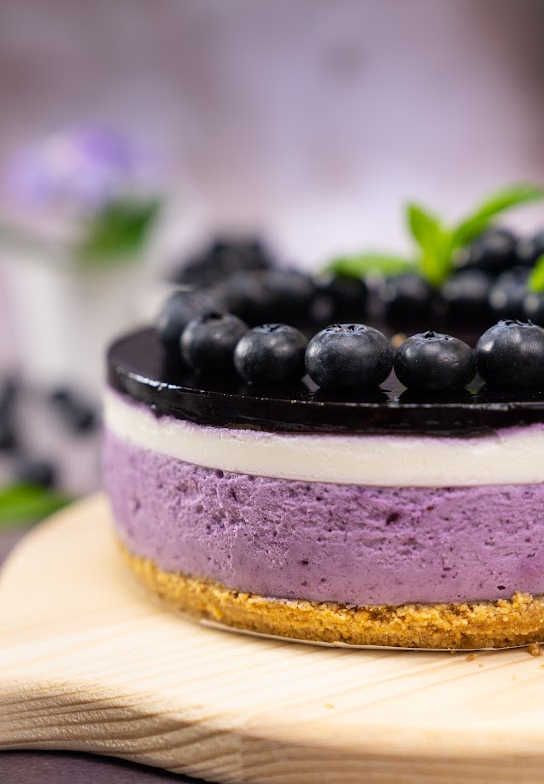
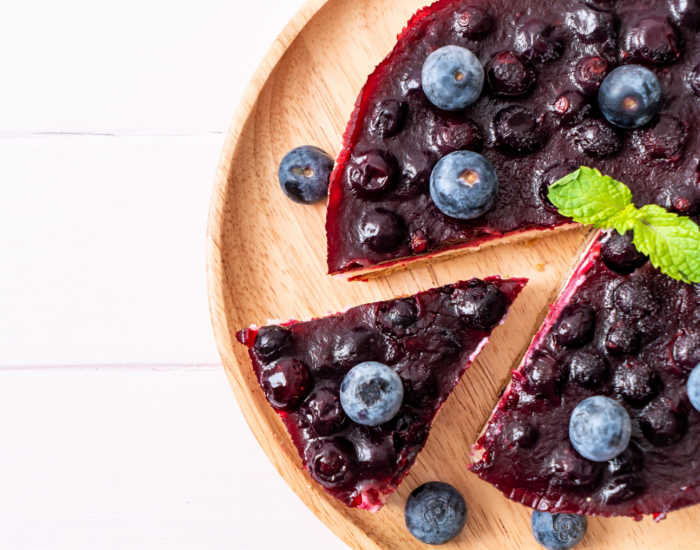
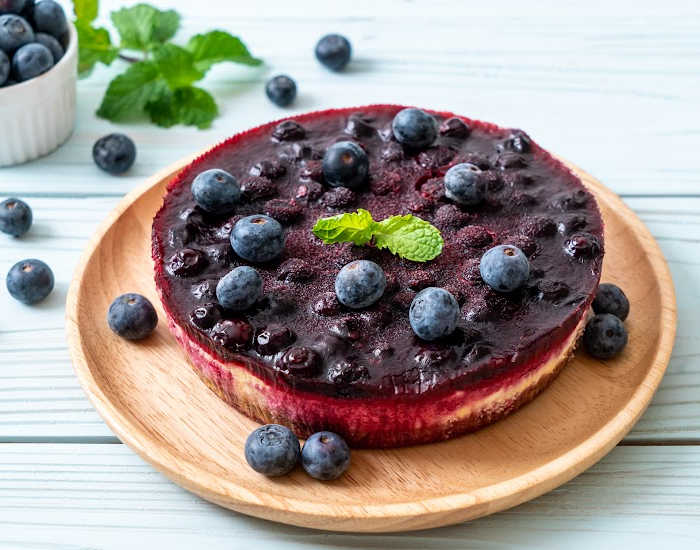
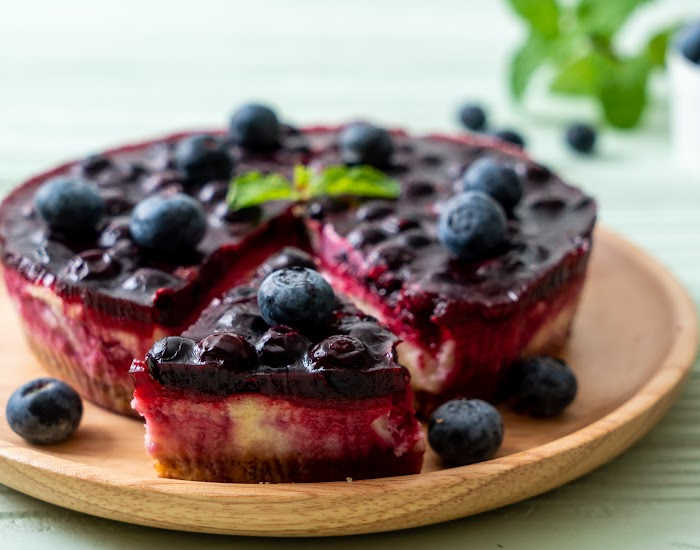
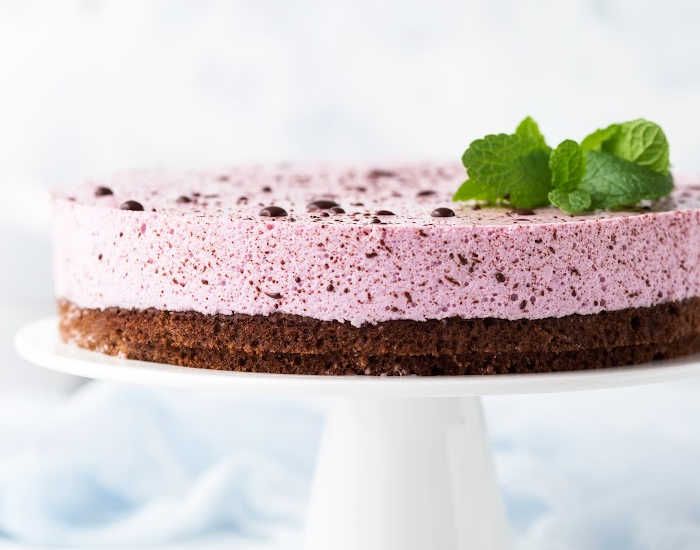
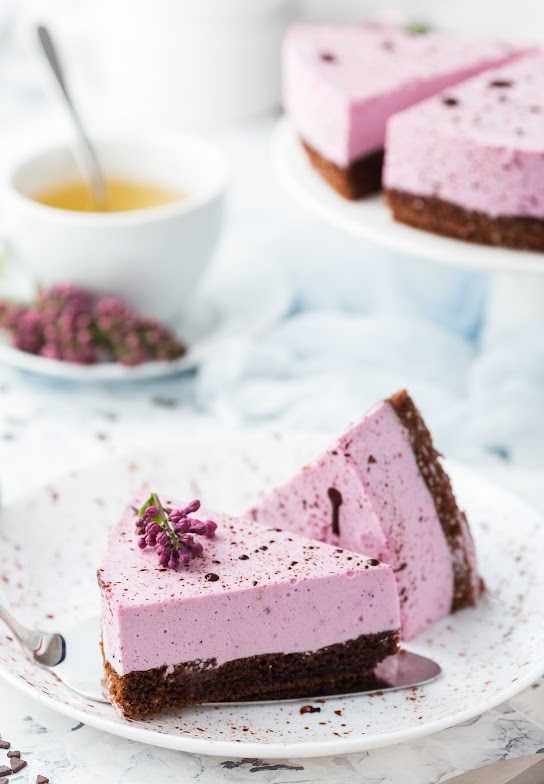
1. No-Bake Blueberry Cheesecake
For The Crust:
- 7 ounces (200 grams) of biscuits
- 80 grams (1/3 cup + 1 teaspoon) of melted butter
For The Fillings:
- 10.5 ounces (300 grams) of fresh or frozen blueberries
- 25 grams (2 tablespoons) of sugar
- 450 grams (2 cups) of cream cheese
- 160 milliliters (2/3 cup) heavy cream
- 1 teaspoon of vanilla extract
- 1 tablespoon of freshly squeezed lemon juice
- 125 grams (1 cup) powdered sugar
- 10 grams of gelatin powder
- 50 milliliters of cold water
For The Toppings:
- 1/4 ounce (7g) of unflavored gelatin powder
- 1.18 fluid ounces (35ml) of cold water
- 6.5 - 7 ounces (180g - 200g) of fresh or frozen blueberries
- 2 tablespoons (25g) of granulated sugar
- 2.37 fluid ounces (70ml) of water
Instructions
- To make the base for your dessert, in a food processor, gather up some biscuits and crush them into fine crumbs.
- Add the melted butter to the mixture and pulse until fully incorporated.
- Now spread this biscuit-butter combo onto an 8-inch spring-form pan and press it firmly down with a spoon or spatula.
- Then pop it into the fridge while you prepare your filling.
- In a saucepan, heat blueberries, lemon juice and sugar until the sugar dissolves and the berries soften.
- Then blend it to create a smooth mix before cooling off.
- While that's happening, in another bowl stir gelatin powder with water for 10 minutes allowing it to "bloom".
- In a sizable bowl, use an electric mixer to blend the cream cheese until it is soft and creamy.
- Incorporate heavy cream and vanilla extract into the mixture before beating on high speed until light peaks begin to form.
- Gently fold in the chilled blueberry combination for a smooth finish.
- Finally, melt the gelatin in your microwave for 15 seconds for optimal results!
- Carefully add a few spoonfuls of the cheesecake mixture to your dissolved gelatin and combine until it is smooth.
- Return this mix to your larger batch for an even blend. Spread the contents out in a spring-form pan and freeze for one hour while you prepare the topping.
- To make blueberry jelly, start by combining gelatin powder and water in a small bowl.
- Let it sit for 10 minutes to allow the mixture to thicken.
- In a separate pot, place 180g of blueberries, water, and sugar over medium-high heat while stirring occasionally until all the sugar is dissolved.
- Remove from heat and blend until you reach a smooth consistency.
- Carefully stir in the bloomed gelatin until it is melted and evenly distributed.
- Allow the mixture to cool to room temperature before pouring it over your cake.
- Place the entire creation into the refrigerator, allowing it to chill overnight for optimal results.
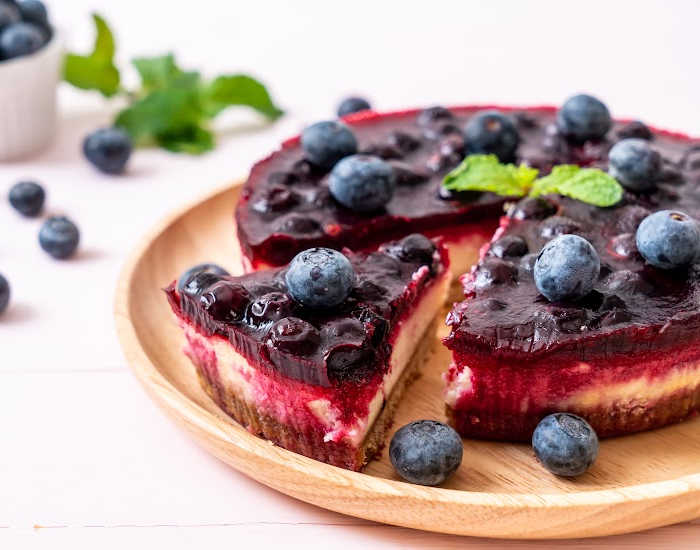
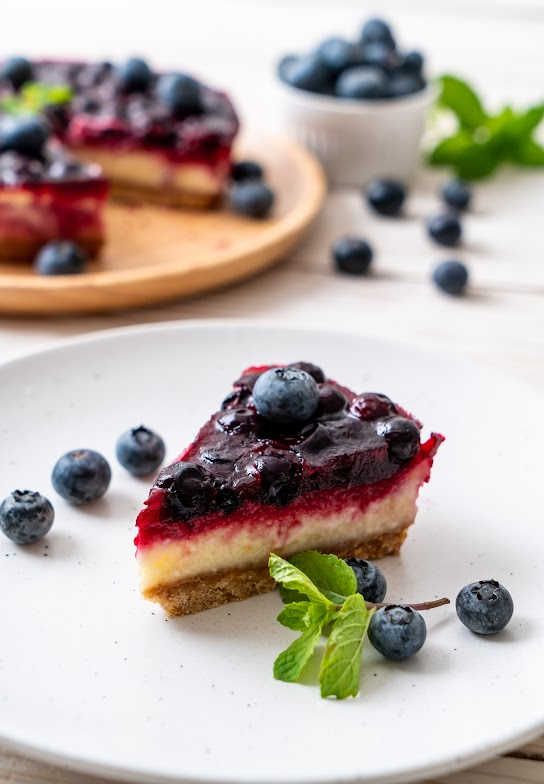
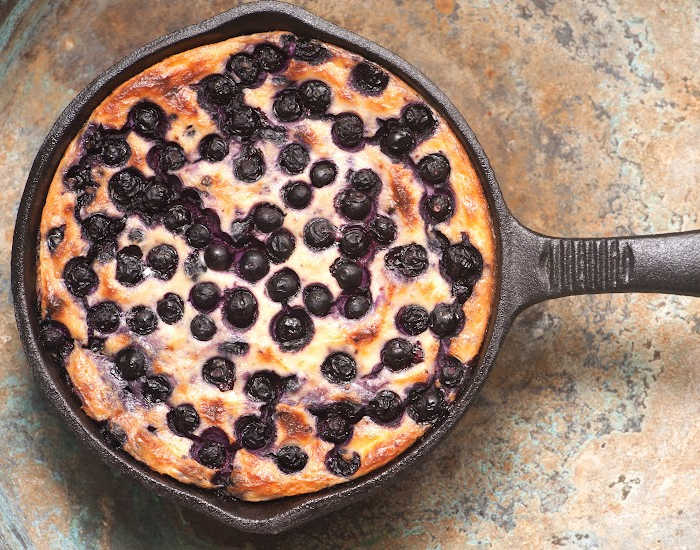
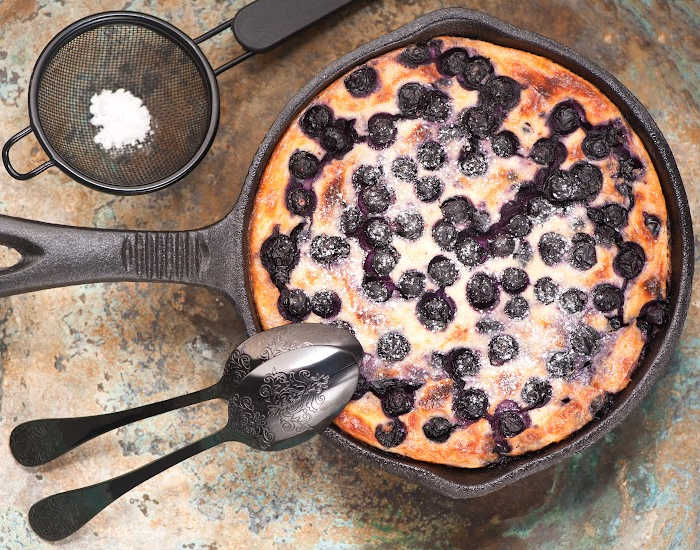
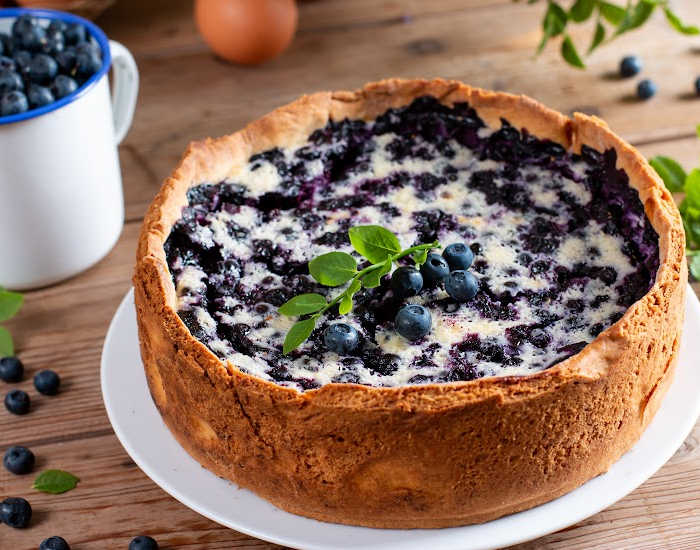
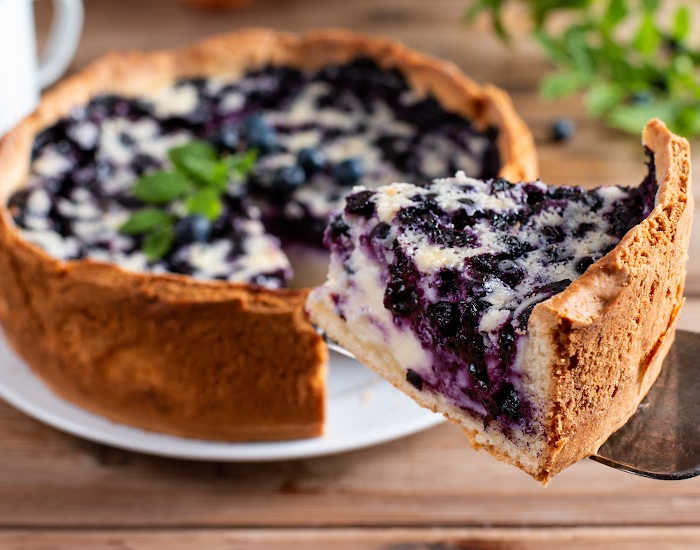
2. Baked Blueberry Cheesecake

Cheesecake Biscuit Base:
- 7 ounces (200g) of Arnott's Marie crackers (or any other plain biscuit) and 28 Graham Cracker squares.
- To top it off, melt 8 tablespoons (120g) of unsalted butter
Cheesecake Filling:
- 1 pound (500g) of softened cream cheese for maximum creaminess
- 2 tablespoons of all-purpose flour
- 1 teaspoon of pure vanilla extract
- 1/2 cup of full-fat yogurt for the sour cream
- 1 and 1/2 cups of caster sugar (known as superfine sugar)
- 1 whole lemon zest for a refreshing flavor (Optional)
- 3 lukewarm eggs
- 8 ounces (250g) of blueberries
Blueberry Topping For Cheesecake:
- 13 ounces (375g) of blueberries
- 2 tablespoons of freshly squeezed lemon juice or water
- 1/2 cup of white sugar
- 1/2 teaspoon of vanilla extract
- 1 and 1/2 teaspoons of cornflour or cornstarch
- 2 tablespoons of water
Instructions
Preparation:
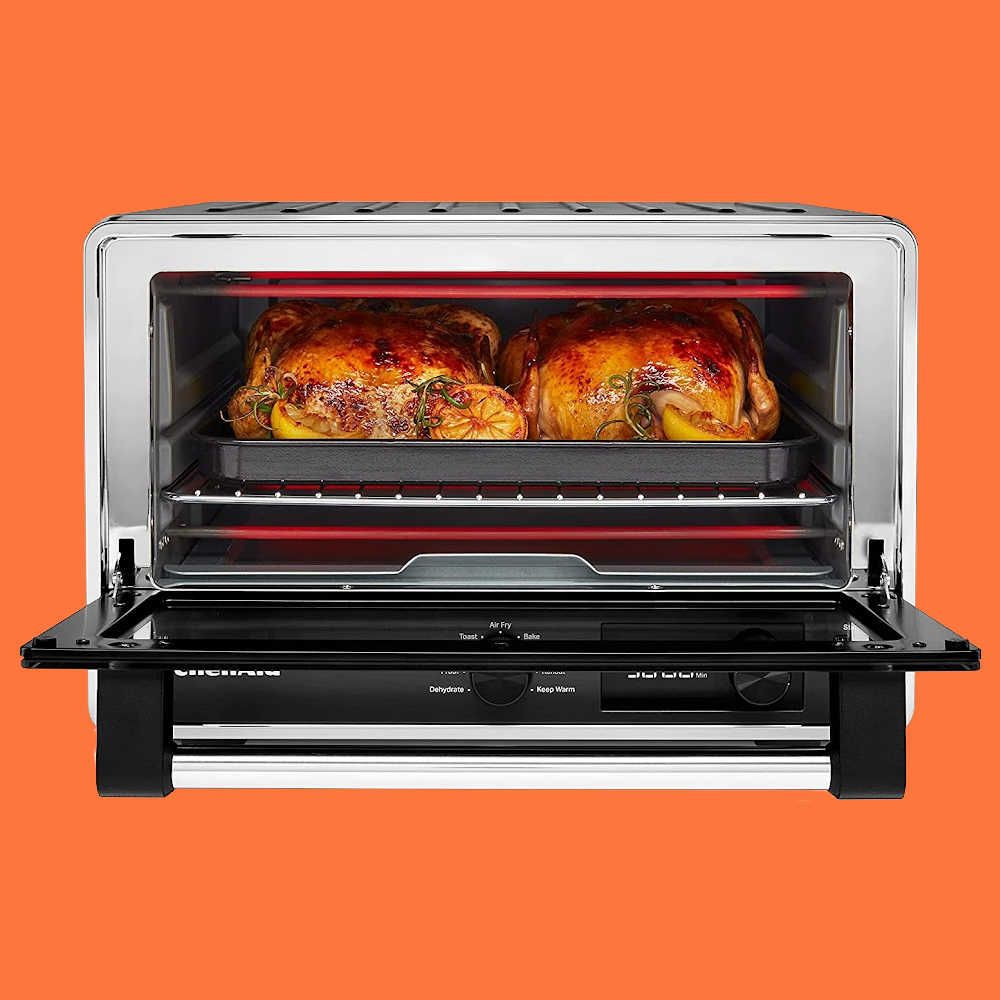
- Heat your oven to an optimal temperature of 320°F (160°C/ 140°C fan), and position the shelf in the center.
- For the Line Inverted Base method, you will need an 8-inch (20cm) spring-form cake tin. Turn the base upside down and lightly butter it before pressing it on a square piece of parchment/baking paper. Securely clip this into place with excess paper sticking out for easy removal later in the process.
- Apply a generous layer of butter to the edges of your pan for an extra delicious crust.
Cheesecake Biscuit Base:
- Crumble the biscuits with your hands, then grind them in a food processor until they are fine crumbs.
- Add the butter and blend for another few seconds until everything is evenly incorporated - it should resemble wet sand when finished.
- Carefully pour the batter into your prepared cake tin, and evenly spread it over the base and up along its sides.
- To ensure an even finish, press down onto the crumbs with a measuring cup that has a flat bottom and vertical edges. This will help push them up almost all of the way to the top of its walls while flattening out any unevenness on its base.
Filling:
- Whisk the cream cheese with a stand mixer or handheld beater for no longer than 20 seconds on speed 4 to make it velvety smooth. Doing so for too long may cause cracks when baking.
- Quickly combine the flour into the batter for 5 seconds on speed 4.
- Then, add sour cream, vanilla, sugar and lemon zest to form a cohesive mixture.
- Beat this combination for only 10 seconds at a speed of 4 or less until everything is fully integrated.
- Eggs: one at a time, gently add each egg to the mixture and beat for 5 seconds on speed 4.
- Once all eggs have been added, keep beating until you reach the desired consistency; however, be sure to cease mixing as soon as it becomes creamy in texture.
- Gently fold in the succulent blueberries with a rubber spatula. Next, fill up the prepared crust.
- Bake for about 70-75 minutes. The top should be light golden brown, slightly raised yet still flat with no cracks. To ensure it is done baking, give the pan a gentle shake - you will know it's ready when there's just enough jiggle!
- Allow the cake to cool in your oven with the door slightly ajar for 2 hours, then store it in either its pan or the refrigerator for at least 4 hours. The surface should be flat, also when you take it out of the fridge.
- To remove the cheesecake from the spring-form pan, unfasten and lift off each side of the cake tin. Then use the overhanging parchment paper to slide it carefully onto a serving plate or board. Finally, ease the bottom sheet away so you can unveil your delicious masterpiece!
Blueberry Sauce For Cheesecake:
- Gently mix 1 cup of blueberries (4oz/ 125g), a hint of vanilla, some sugar, and freshly squeezed lemon juice in a saucepan.
- Allow the mixture to simmer over medium heat for 7 minutes until all the flavors have blended and the berries are soft.
- In a bowl, combine cornflour and water until it reaches a thick consistency. Add the remaining blueberries to create a syrupy sauce.
- Once you're finished stirring, remove it from the stovetop and let it cool - as it chills, your mixture will thicken even more!
- Gently spread the sauce over your cheesecake until it is evenly covered. You should have roughly 1/2 cup of extra sauce left, perfect for topping off later.
- Allow the cake to chill in the fridge for at least 2 hours before serving.
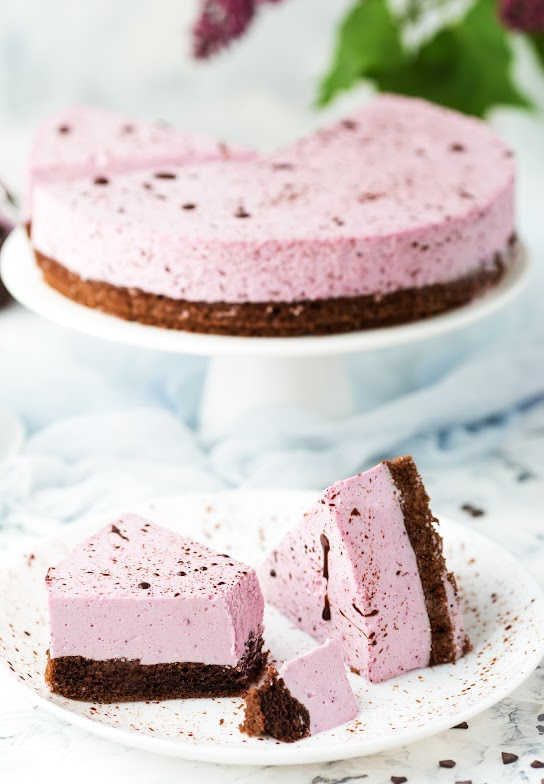
Variations Of Blueberry Cheesecake
Tips & Tricks
- Use ripe, plump blueberries for maximum flavor.
- If the blueberry sauce is too thin, simply add extra cornstarch to thicken it up. For more tanginess, add a squeeze of lime juice or some lemon zest.
- Make sure you don’t over-mix the cream cheese and eggs, as this can create cracks in the finished cheesecake.
- For a twist, try topping your cake with crumbled Graham crackers and a sprinkle of zest before serving!
- You can also use store-bought blueberry syrup for a simpler yet still delicious cheesecake.
- If you don’t have an oven, no worries! A no-bake blueberry cheesecake recipe is just as scrumptious.
- Enjoy your blueberry cheesecake with a dollop of freshly whipped cream for an extra special treat.
- For vegan cakes, you can swap cream cheese for vegan cream cheese and use a flax egg instead of regular eggs.
👉
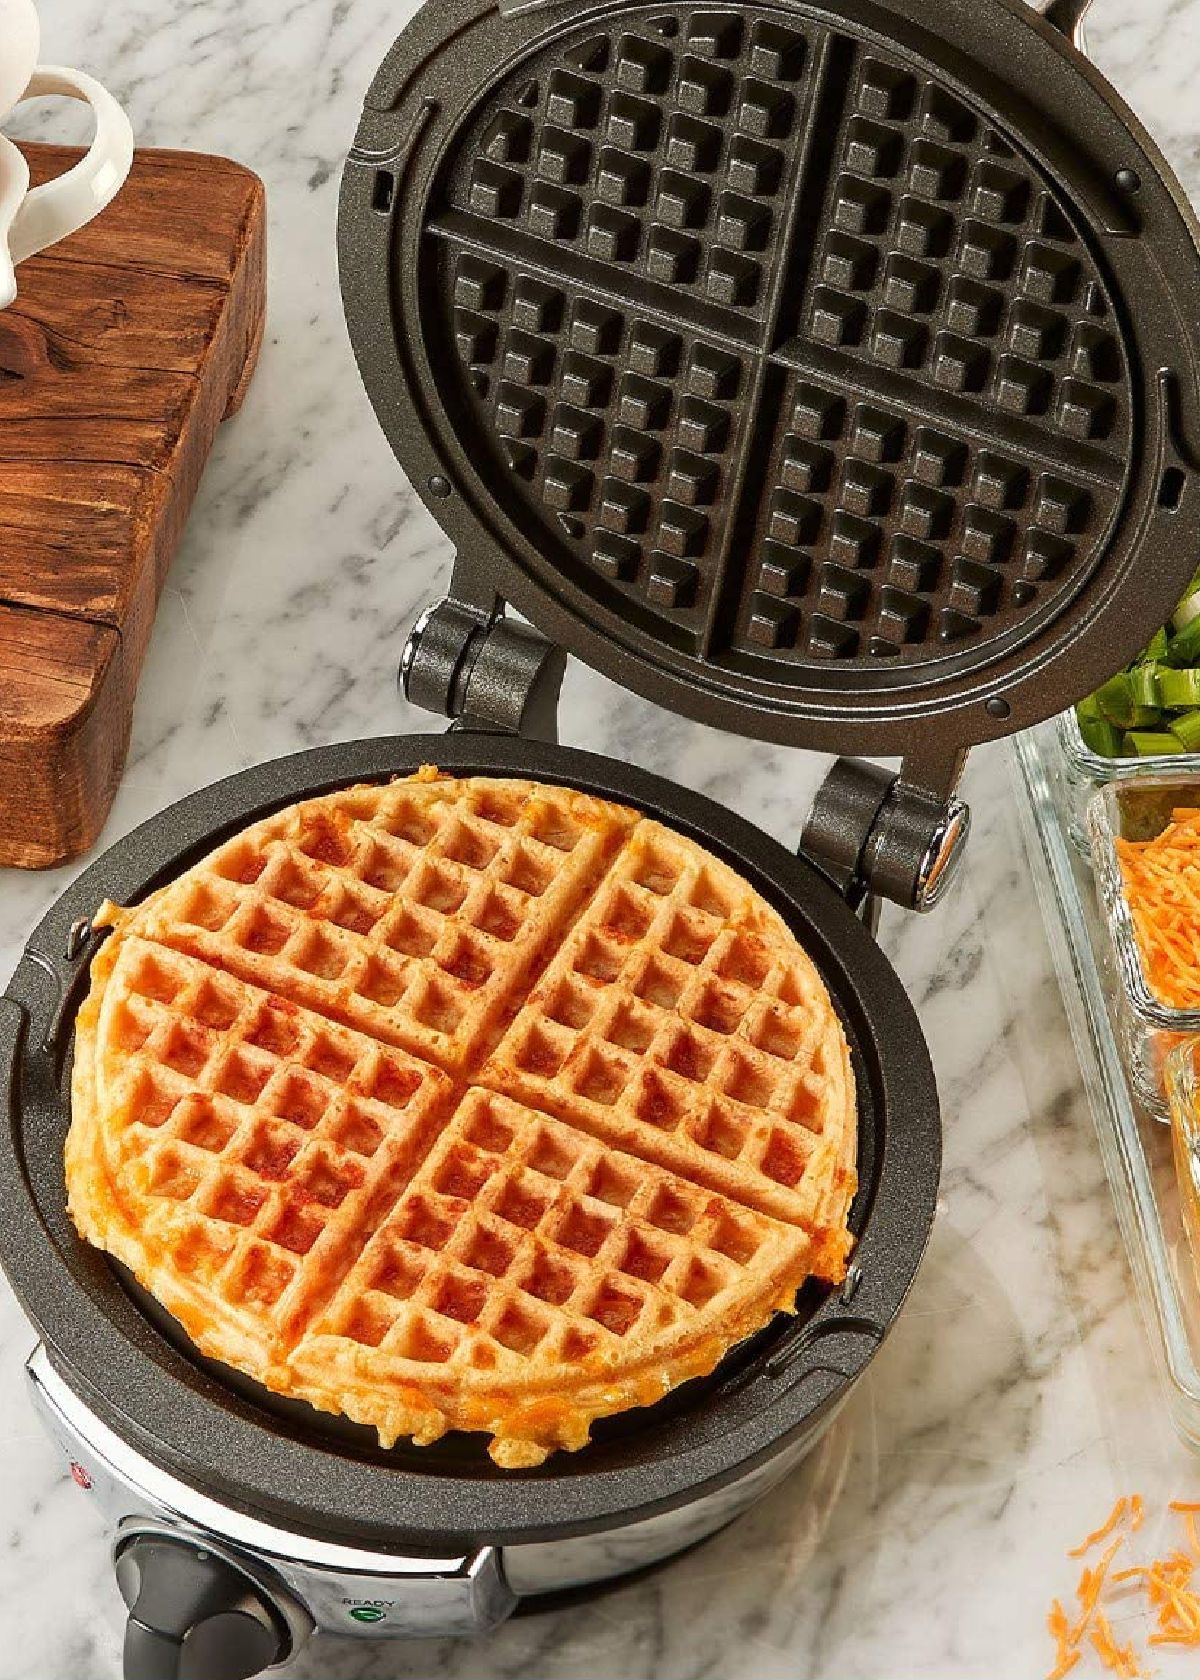
Need a food processor for dough to make the crust and whisk the cake's batter? Check out the blog post below and pick your favorite item out of our 5 selections.
The Best Food Processor For Dough That Makes You A Baker Pro
Looking for the best food processors with dough blade to knead dough? We’ve reviewed the 5 best food processors for dough to save your time. Check them out!
Now you can finally enjoy the best blueberry cheesecake! Happy baking!
Catchy Finds